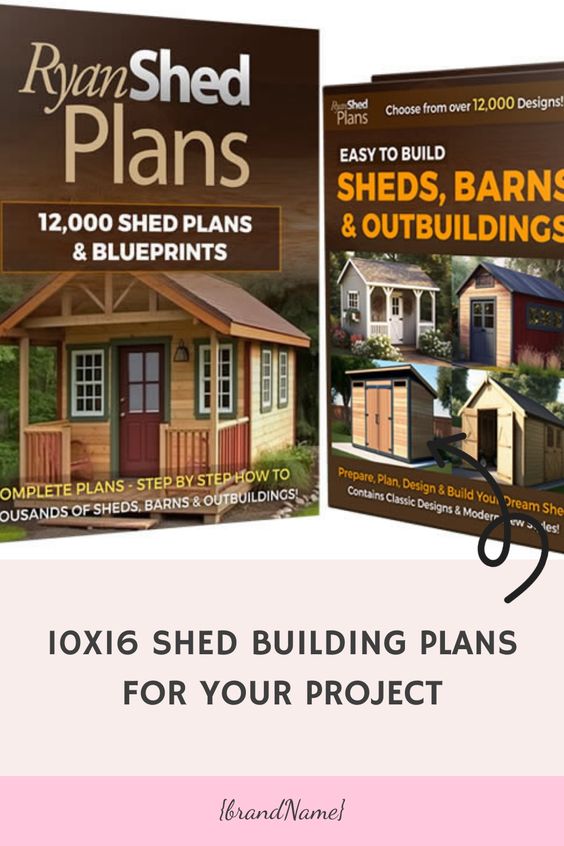
Building a shed is a rewarding project that not only adds functional storage space to your property but also enhances its value. Whether you need a place to store garden tools, outdoor equipment, or simply want extra space for hobbies, a well-built shed can serve many purposes. This guide will walk you through the essential steps on how to build a shed, including creating plans, gathering materials, and executing the construction.

Planning Your Shed
- Determine the Purpose: Before you start, decide what you’ll use the shed for. This will influence the size, design, and materials needed. For example, a garden shed will have different requirements compared to a workshop or storage space.
- Check Local Regulations: Contact your local building department to understand zoning laws and obtain any necessary permits. Some areas have restrictions on shed size, placement, and materials.
- Select a Location: Choose a flat, well-drained area on your property. Consider accessibility, sunlight, and proximity to other structures. Ensure there’s enough space for the shed and any additional features like walkways or a ramp.
- Create a Design: Sketch your shed design or find pre-made plans online. Include dimensions, door and window placements, and any additional features. Free and paid plans are available online that cater to various needs and skill levels.
Materials and Tools
Materials:
- Pressure-treated lumber (for the foundation and frame)
- Plywood or OSB sheets (for walls, floor, and roof)
- Roofing materials (shingles, metal, or tiles)
- Nails, screws, and bolts
- Concrete blocks or gravel (for the foundation)
- Paint or stain (for finishing)
Tools:
- Measuring tape
- Level
- Circular saw or handsaw
- Hammer and nails or nail gun
- Screwdriver or drill
- Shovel and rake (for site preparation)
- Ladder
- Safety gear (gloves, goggles, ear protection)
Step-by-Step Guide to Building a Shed
- Prepare the Site: Clear the area of any debris, rocks, or vegetation. Level the ground and mark the shed’s footprint using stakes and string.
- Build the Foundation: A solid foundation is crucial for stability and longevity. There are different types of foundations, but a common choice is a gravel base with concrete blocks or a wooden skid foundation.
- Gravel Base: Spread a layer of gravel to create a level surface.
- Concrete Blocks: Place concrete blocks on the gravel base, ensuring they are level. These will support the floor frame.
- Wooden Skids: Use pressure-treated 4x4s or 6x6s as skids, placed on top of the gravel or concrete blocks.
- Construct the Floor Frame: Use pressure-treated lumber to build the floor frame according to your plans. Ensure it is square by measuring diagonally from corner to corner. Attach joists using galvanized nails or screws, and then lay plywood or OSB sheets on top to create the floor.
- Build the Walls: Assemble the wall frames on the ground first. Use 2×4 lumber for the studs and top/bottom plates. Incorporate openings for doors and windows as per your design. Once assembled, raise the walls and secure them to the floor frame. Use a level to ensure they are plumb, and brace them temporarily until all walls are in place.
- Install the Roof Trusses: Construct roof trusses according to your plans, or purchase pre-made trusses. Lift them into place, spacing them evenly along the top plates of the walls. Secure each truss with nails or screws, and add bracing for stability.
- Sheath the Walls and Roof: Cover the walls and roof with plywood or OSB sheets. Attach them securely with nails or screws, ensuring the edges are flush and there are no gaps.
- Install Doors and Windows: Depending on your design, you may have pre-built or custom doors and windows. Install these by following the manufacturer’s instructions, ensuring they are level and properly sealed.
- Add Roofing Material: Cover the roof sheathing with roofing felt or underlayment, then install shingles, metal roofing, or tiles. Follow the manufacturer’s guidelines for installation to ensure weatherproofing.
- Finish the Exterior: Apply siding to the exterior walls, choosing a material that complements your house and withstands local weather conditions. Common options include wood, vinyl, or metal siding. Paint or stain the shed to protect it from the elements and enhance its appearance.
- Interior Finishing (Optional): Depending on the shed’s purpose, you might want to finish the interior with insulation, drywall, shelving, or electrical wiring. Ensure all electrical work complies with local codes and is performed by a qualified electrician if needed.
Tips for Success
- Plan Ahead: Thorough planning can prevent costly mistakes and delays. Double-check measurements and ensure you have all necessary materials before starting each phase.
- Quality Materials: Investing in quality materials, especially for the foundation and frame, will result in a more durable and long-lasting shed.
- Safety First: Wear appropriate safety gear, follow tool instructions, and work with a partner when lifting heavy components.
- Weather Considerations: Choose a time of year with favorable weather conditions to avoid complications from rain or extreme temperatures.
Common Pitfalls to Avoid
- Ignoring Permits: Failing to obtain the necessary permits can result in fines and may require you to modify or remove your shed.
- Poor Site Selection: Building in a low-lying area prone to flooding or too close to property lines can lead to problems down the road.
- Cutting Corners: Skimping on materials or rushing through construction steps can compromise the shed’s stability and durability.
Conclusion
Building a shed is a manageable project that, with careful planning and execution, can provide you with valuable storage space and enhance your property’s functionality. By following this step-by-step guide on how to build a shed and adhering to your plans, you can create a sturdy, attractive, and useful structure. Whether you’re a seasoned DIY enthusiast or a novice builder, this project is a great way to develop your skills and add value to your home. Happy building!
